Sharpening
Every digital image, and even a film image that has been digitized by scanning, will need some degree of sharpening. The difference between an unsharpened image and a sharpened one can be dramatic.
Virtually all digital cameras have a built-in sharpening feature that can be accessed thru the camera's menu. It's usually a scale something like this,
-2 -1 0 +1 +2.
I tend to leave my camera at the factory default setting of 0, and do the final sharpening in Photoshop, which offers much more control over the final result.
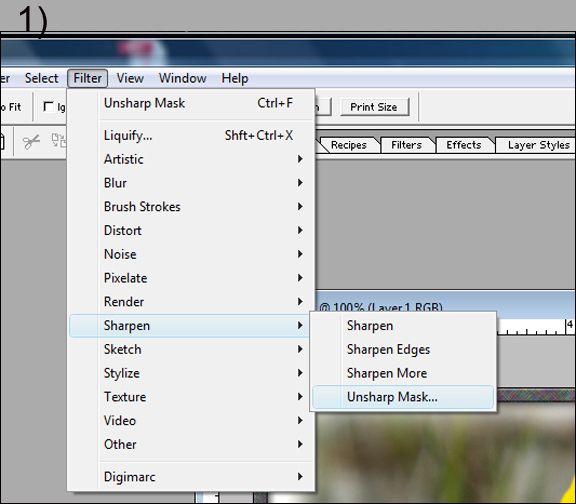
1) The sharpening tool is part of the Filter menu. Filter > Sharpen > Unsharp Mask

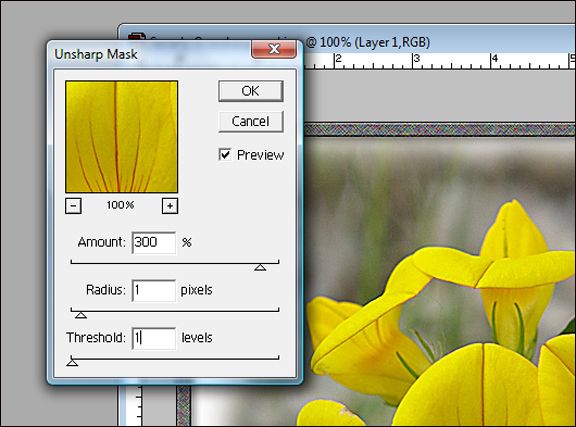
The Sharpening Work Box will appear, with settings for Amount, Radius, Threshold. A good starting point is 250, 1.0, 4 respectively, but the final numbers can vary greatly since each image is different. Some pictures need much more sharpening than others.
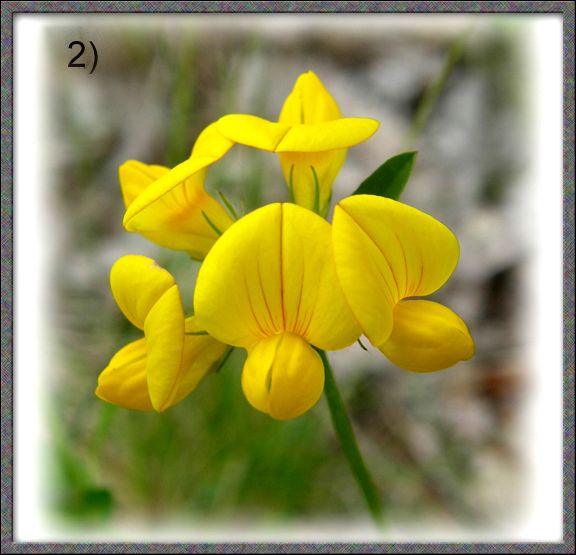
2) The unsharpened photo vs the sharpened one.
This image is unsharpened,
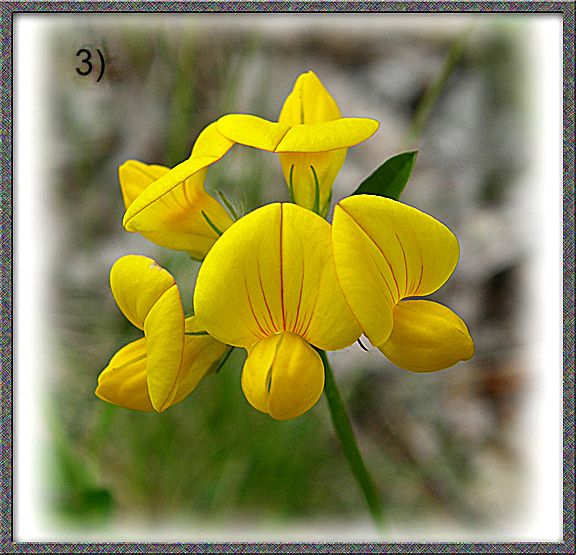
Sharpened image, with values of values of Amount 300, Radius 1.0, Threshold 1. Lines are more vivid, and textures not seen before are now visible.
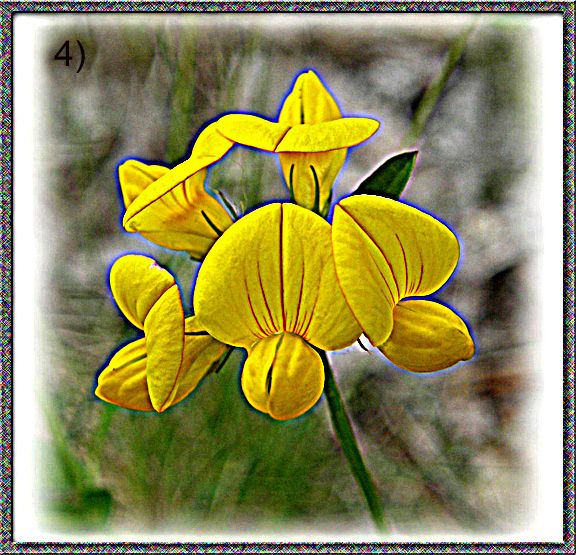
Be carefulnot to oversharpen. This image shows why. Strange things begin to happen, like the blue color fringe aroung the petals.
Amount 500, Radius 3, Threshold 0.
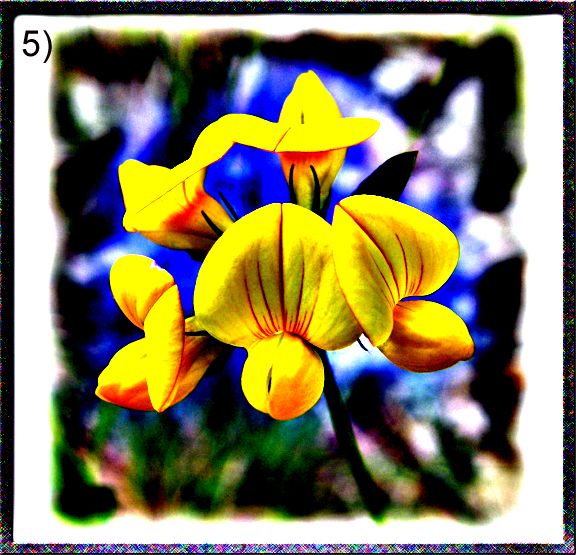
However, the sharpening tool can become a creative way to achieve special effects, if you want it. This image is severly oversharpened, but it has it's own appeal.
Amount 500, Radius 300, Threshold 0.
Thanks to Therevealer for allowing me to isslustrate this using his great wildflower picture!